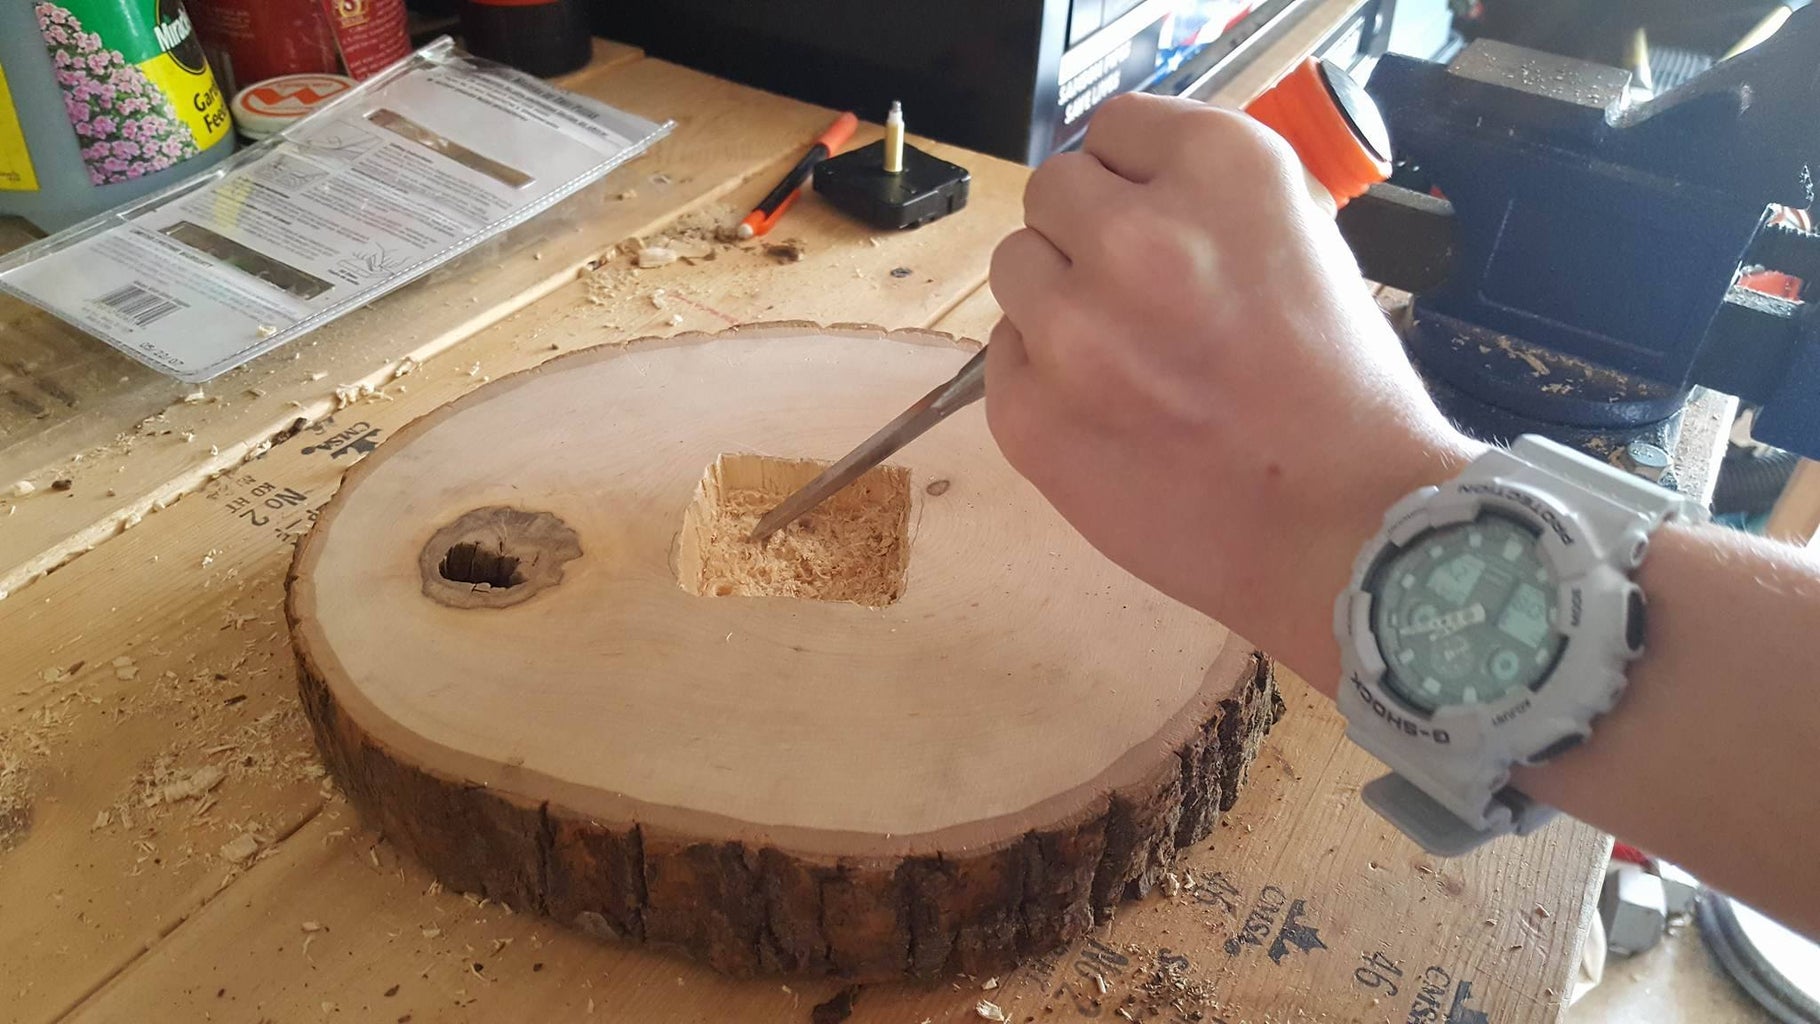
Hey there, woodworking enthusiasts! Ever wanted to build something truly unique, something that tells time with the warmth of natural wood? Well, you're in luck! Today, we're going to dive into the exciting world of crafting your very own wood clock.
This isn't just about building a timepiece; it's about creating a piece of art that reflects your personality and craftsmanship. So, grab your tools, put on your favorite woodworking playlist, and let's get this project rolling!
Choosing Your Timber Treasure
First things first, we need to pick the perfect wood for our clock. Think about the style you're going for, whether it's rustic, modern, or something in between. Here's a quick guide to inspire you:
Rustic Charm: Reclaimed barn wood, weathered oak, or even driftwood give off that cozy, vintage vibe.
Sleek and Modern: Walnut, maple, or cherry offer a clean, contemporary look.
Bold and Beautiful: Ebony, rosewood, or teak add a touch of luxury and elegance.
Don't be afraid to experiment with different wood types! You can even combine them to create a stunning contrast. Just make sure the wood is dry and free of knots or imperfections that might interfere with your clock's mechanics.
The Clock's Anatomy
Now, let's break down the essential components of our wooden clock:
The Face: This is where the magic happens. We need a smooth, flat surface to house the clock mechanism and display the time. This can be a single piece of wood or multiple pieces carefully joined together.
The Hands: These are the clock's limbs, gracefully gliding across the face. You can find pre-made hands or create your own from wood, metal, or even acrylic.
The Movement: The heart and soul of the clock, the movement drives the hands and keeps time. You can choose from quartz movements (affordable and easy to install) or mechanical movements (for a more traditional feel).
The Case: This optional addition provides structure and protection for the clock. It can be simple, like a frame surrounding the face, or more elaborate, with decorative carvings and finishes.
Sketching Your Masterpiece
Before you start cutting wood, get those creative juices flowing! Sketch out your clock design on paper, playing around with different shapes, sizes, and features. Consider:
Shape: Round, square, rectangular, or even whimsical? Let your imagination run wild!
Size: What scale will your clock be? A compact tabletop clock or a statement piece for the wall?
Hands: Do you want simple hands or more ornate ones? Will they be pointed or curved?
Numbers: Will you use Roman numerals, Arabic numerals, or even stick with a minimalist approach?
Tools of the Trade
Now, let's gather our trusty tools and prepare for the construction phase:
Saw: A handsaw, jigsaw, or circular saw will be your best friends for cutting wood to size.
Sandpaper: Various grit sizes will smooth out the rough edges and give your clock a polished look.
Drill: You'll need this for making holes to mount the clock movement and hands.
Screwdriver: Essential for securing the movement, hands, and any other components.
Wood Glue: For securely bonding different wood pieces together.
Clamps: To hold wood pieces in place while glue dries.
Measuring Tape: For accurate cuts and ensuring everything is in proportion.
Pencil: To mark your wood for cutting and drilling.
Building the Face
Alright, let's get our hands dirty and start building the clock face. If you're using a single piece of wood, cut it to your desired shape and size. If you're using multiple pieces, join them carefully using wood glue and clamps.
Once the glue has dried, sand the face smooth and polish it with fine-grit sandpaper. Now, let's mark the center of the face where we'll mount the clock movement.
Adding the Movement
Depending on the movement you've chosen, you might need to drill a hole or two for the mounting screws. Carefully screw the movement into place, making sure it's securely attached.
The Clock Hands
Now, let's give our clock some personality with hands! If you're using pre-made hands, simply align the hour and minute hands with the movement's corresponding slots. If you're making your own, carefully attach them using screws, rivets, or epoxy.
Creating the Case (Optional)
Want to give your clock a protective and stylish home? A case can add a touch of elegance and complete the look. Measure the clock face, and design a frame that complements your style.
Frame: A simple, rectangular frame is easy to construct. Just miter the corners and glue them together.
Box: For a more elaborate case, consider building a box with a lid. This can create a beautiful display for your clock and protect it from dust.
Finishing Touches
Now comes the fun part: Finishing! Here are a few options:
Stain: Enhance the natural beauty of your wood with a rich stain. Experiment with different shades and colors to find your perfect match.
Paint: Let your creative side shine with a splash of color. You can paint the entire clock or create a design on the face.
Varnish: Protect your clock from scratches and spills with a clear varnish.
Time to Set the Time!
Congratulations! You've built a truly unique wood clock. Now, it's time to set the time, admire your handiwork, and enjoy the satisfying tick-tock of your creation.
Bonus Tip: For an extra personal touch, add a small inscription on the back of the clock, like the date you built it or a special message.
There you have it, folks! Building a wood clock is a rewarding journey that combines craftsmanship, creativity, and a touch of nostalgia. So, roll up your sleeves, unleash your inner woodworker, and create a timeless masterpiece!


0 comments:
Post a Comment
Note: Only a member of this blog may post a comment.